
Post SMTP Plugin
will enable your website to send email through a real email SMTP server. Without this plug-in, email sent from the site is “spoofed” by the site, hence reliability of delivery is not optimum because of spam filtering. Read more about the plugin on the WordPress site The Post SMTP plug-in page.
The “From” E-mail will be an email account for which you have the ability to send emails.
Once you have installed the plugin, the setup wizard will take you through the process of connecting your mail server and verifying credentials.
Note: SMTP limits. Most email providers list the number of messages or number of recipients that the system can sent through SMTP.
| Server | Message limits | |
|---|---|---|
| gmail | 500 recipients/day | |
| dreamhost mail | 100 recipients/hour | More info |
Install the Plugin
Install the plugin from the dashboard menu by clicking on ![]()
Then from the list of available plugins, activate the SMTP Postman plugin
The plugin installs automatically, the page refreshes and you’ll immediately get an error message at the top of the page stating that Postman is not configured. Click on Settings and follow instructions below based on your type of email.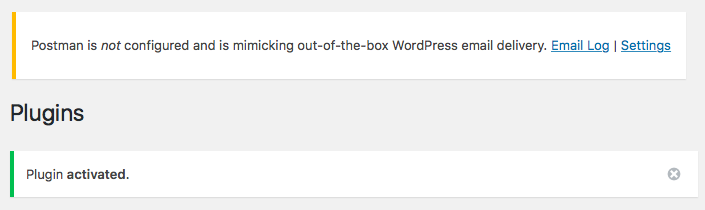
Setup using a Gmail account
Use the wizard.
Send yourself a test email.
Summary of What Goes in the Blanks (USNASites.net Accounts)
Follow these steps if your class/chapter/parent club has been provided an email account from the network domains. Using the wizard:
- Who is the mail coming from?
- Email address: type in your full email from address, such as newchapter@usnachapters.net,
- Name: the Plain Language From address shown in Email clients, such as SF Bay Area Chapter
- Next
2. Which host will relay the mail?
- Outgoing Mail Server Hostname: type or copy/paste in sub4.mail.dreamhost.com
- Next
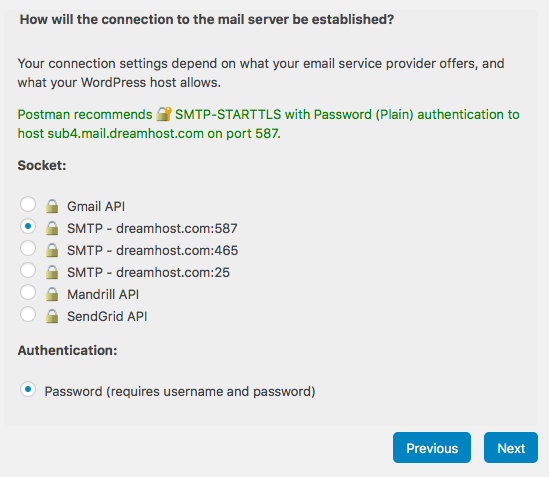
3. How will the connection to the mail server be established?
- Accept defaults
- Next
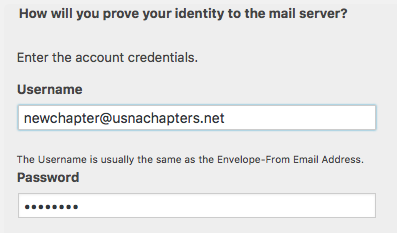
4. How will you prove your identity to the mail server?
- Username: Type in the FULL EMAIL ADDRESS again.
- Password: Email account password
- Next
5. Click Finish to save your settings
6. Send yourself a test email.
Setup Using a Dreamhost (USNASites.net) Account
The wizard will step you though the process. Start the wizard by clicking on ![]()
Fill in your From Email Address and the plain language From Name. 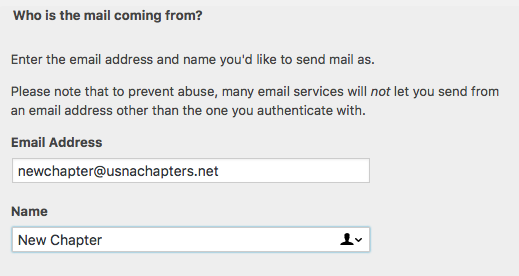
Click on ![]()
Fill in the Outgoing Server Hostname with sub4.mail.dreamhost.com

Click ![]()
Accept the default Socket and Authentication as selected by Postman SMTP and click on Next.
Fill in the FULL Email address as the Username and enter the email account Password
Click ![]() then FINISH
then FINISH
Send yourself a test email.